Pillow Swap Part 2-quilting & envelope back

ENVELOPE PILLOW BACK–overlapping back closure (no zipper!!)

Each back piece will be the same width as the front side and 1/2 of the length plus 4 inches to account for seams and overlap (the envelope part.)  Sound confusing?  Just keep reading!!  There’s pictures!!

For example, the pillow insert is 16 inches so half of that is 8 inches + 4= 12 inches.  Each of the back pieces will be 16 inches wide and 12 inches tall.

Attach each back piece to Pillow Cover. Make a quilt sandwich.

NOTE:  Cut batting 1” shorter on each end.  This will result in less bulk when edges are turned under for a finished edge.  Quilt entire piece, making both back & front of pillow quilted!
Turn under edges on Pillow Back & hem.  With right sides together, overlap back pieces onto front.  Sew seams together.  Turn right side out through envelope back. You’re done!!

envelopebckqultng


envelopeback

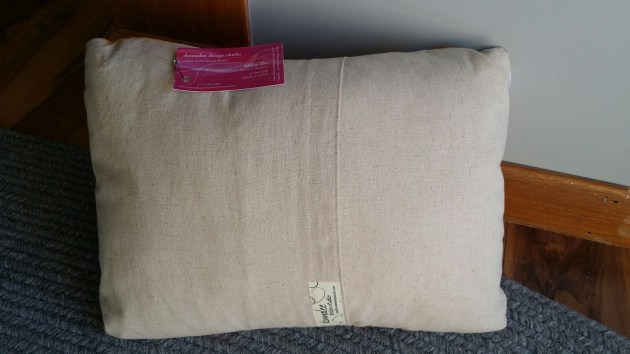
Envelope Back:  Nice, clean finish on the back!

Pillow Swap Directions

I’m so excited about the response to our first swap!  27 members decided to participate!  Each brought a fat quarter of modern fabric, filled out a quick form about preferences and put both in a bag that was then picked up by a different member.  The object is to use the fat quarter and add other fabric to make a design based on one of our previous block lotto blocks, but used in a different way.  We are encouraged to use one or more of the elements of modern quilting – alternate grid, negative space, asymmetry, improvisation and minimalism- in our design of the 16.5-inch square pillow top.  The top should be completed by the October meeting, when instructions for the pillow back will be given.  The return of the finished pillow covers is set for November.  Here are a few quick ideas for some of our blocks.  Check out the block lotto page for pics of all of the blocks we’ve done so far.

Questions? Email me!

Continue reading